Homebrewing Beer 101: Editor’s Note – Big Jim’s Double Dark

As a quick aside from our beer chronicles, we went ahead and purchased the ingredients for a Double Bock (or a “Doppel Bock” as the purist say) the last time we were in the brewstore. This is made with DARK malts and dark roasted grains. The recipe is meant to be a clone of the delicious Paulaner Salvator Doppel. I’ll add more pictures down the road at some point, but this actually is worth a quick post just to tell the story of our first ‘big’ beer. We wanted one that would be ready in a couple months and a fun one. This one takes 6 months to finish off. That sounds long to the novice, but the masters will brew then cask in bourbon oak casks for a year at a time to mellow their wort.

We’re not waiting that long, at least not at first when we are still learning how to do this. Here’s the fun part, though….when we were bottling the bitter ale, we realized that we LEFT THE SUGAR OUT OF THE DOUBLE BOCK. That’s an issue. Without enough sugar, the yeasts can create enough alcohol and the flavor will be really weak. After some deliberation and a commercial beer or two, we decided to go ahead and mix in the sugar AFTER the initial fermentation to restart the yeasts for another fermentation before we bottled. The process would last 3days to a week until the sugar was devoured.

Now…was this a smart idea? Probably not. The risk of picking up mold spores or dust or anything bad in the transfer is really not something we want to do. However, spending 6 months on a beer that ends up tasting like something they sell in Oklahoma where they limit the beer abv to 3.9% is not something we’d rather do. So we mixed up the sugar with some of the wort we siphoned out of the carboy then funneled it back in. After a full week, the bubbles stopped and the beer was ready to bottle. We left it in an extra week. Why? Well, we were busy. That’s probably not that smart either, but hey…we are new to this.

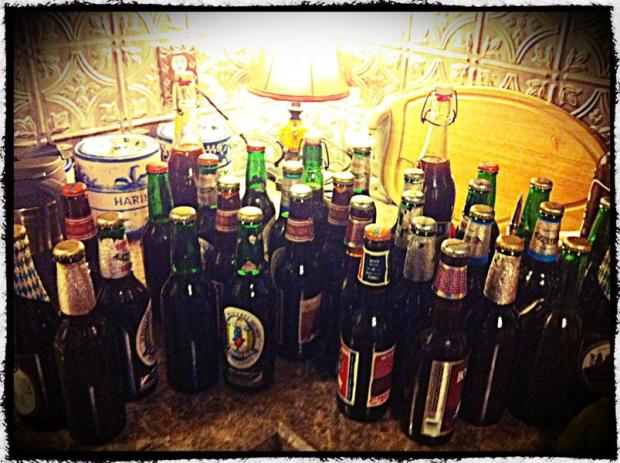
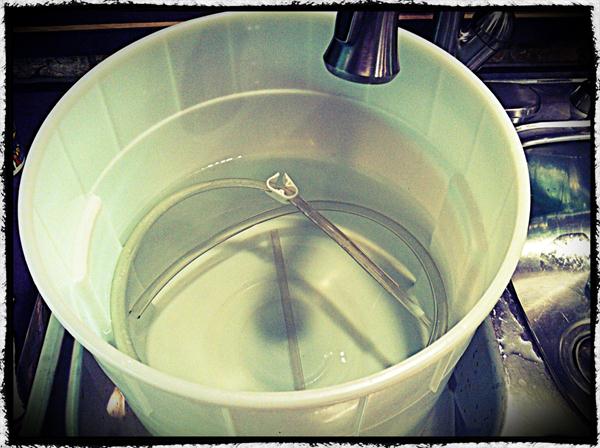
Bottles, disinfected and dried

The glass carboy with the delicious double bock waiting inside. Notice the ring of yeast around the top. That’s where the wort was when we first put it in. The yeast ate it down that far.

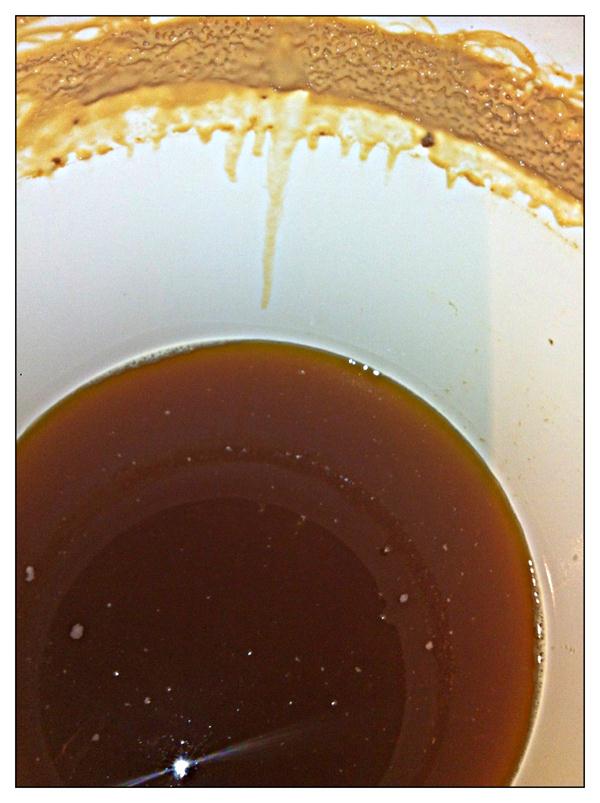
The color is like cappuccino. Dark brown with a foamy crema on top.

I’m fast forwarding a bit, but this is what the carboy looks like after it’s drained. The bottom looks like saturated river bottom sand. Doesn’t smell like it, though…this smells like warm yeasty bread with a PUNGENT alcohol punch to it. Smells incredible.

This is the brew in the secondary fermenter that we are using for bottling b/c it’s the only bucket we have with a spigot. Forgive me for the heaven photo effect, but it’s the only one I could find that highlighted the brew and the crema without picking up any other colors. The texture is similar to a dark soy sauce. It’s a sweet flavor that’s definitely young and needs some time in the bottle. In a pinch, though, you could drink this right now. It would need to be in a pinch, though, because this needs some bottle lovin’ for a few months.

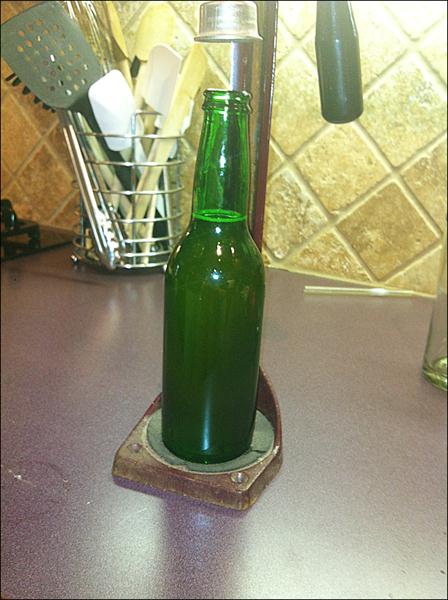
We used a couple oversized bottles that Runnin’ Buddy has been saving for a few years in case he ever picked up homebrewing. It’s almost destiny.

Some random shots of the bottles, filled with the sweet nectar of the double bock.

And there we have it…forty bottles of our double bock that we lovingly named Big Jim’s Double Dark. Check back in August when we get to open these.

Homebrewing Beer 101: Tire Biter Bitter Ale Part 2

If you remember the last time we met here, we were in stage one of our new project: homebrewing. It’s the essence of true Arcadia. Anyone crazy enough to move out to the country needs to pacify themselves somehow.

The last time we were here, we just finished up the wort for a bitter ale called “Tire Biter”, made with blonde malt syrup and blonde malt grains, seeped in a tea for a while, then all mixed together for an hour with noble hops, and then we cooled it off in our primary fermenter, primed the airlock with vodka and slid it into the hallway closet for the magical yeast to take it’s time to do what it do, baby. Next step: Bottling.

We always start with a little bit of hot water and some bleach. Not too much…just enough to kill stuff. Now, since this is our first time thru the beer making process, we were told to used diluted bleach. Since that time, we’ve met up with a couple different homebrew supply stores who think we are batshit crazy for using bleach. There’s some other stuff we are supposed to be using, so we’ll get some the next time we’re in. For now, it’s bleach.

All parts go in to the bleach soak:

We’ve got two cases of bottles washed and disinfected in the dishwasher. We’ve got a disinfecting cycle on our Bosch diswasher. Pretty damn handy for kids or beer.

The only ingredient we are using today is corn sugar. 3/4c is all we need to prime, which means we are going to add it to the wort to make the fizzy bubbles in the beer.

First thing, we have to take off the top of the primary bucket and prime the wort. I mixed up ¾c of corn sugar with enough water to make a pint. Then, I left it out for a bit to come up to room temp and swirled it into the wort, being careful not to upset the yeast on the side and bottom of the bucket.

Now, before we go any farther, let’s take a look at the wort so far:

I ran a little thru the bottle filler hose to flush out anything left from the rinsing stage. Gorgeous color, and the smell is divine. The yeast looks absolutely dreadful, but it smells like warm bread dough. We debated on uses for the left over gunk, but could only come up with “potential sourdough starter”.  In the end, we just washed it down the drain.

Gravity says we have to siphon from up above to down below, so we put the bucket up on the counter, attach the bottle filler, and open the valve. Since the top is open, we don’t have a problem with creating a vacuum.

The bottle filler is designed to go all the way to the bottom of the bottle and trigger to release the flow of beer into the bottles. When it gets to the top (maybe even overflowed a bit), then you pull it out and it’s ready to be capped. The extra space in the bottle helps age the beer, which it needs an additional 3 weeks still after this bottling to mellow the flavor and create the bubbles. The bubbles are made from the leftover yeast and the sugar we added to prime.  The yeast eats the sugar (which calms the flavor), and yeast expunges CO2 as its “waste” product.  That’s right, kids…beer is bubbled with yeast poop.

Our bottles are mottled this time around. We went heavy on the EZ-Cap style. I think we’ve decided to go with the EZ-Caps as much as possible in the future, but we also have about 50-60 regular bottles that require a metal cap. Since we are just starting out, we are just going to do both and see which one we like best.

With the bucket up on the counter and bottles in place, we are ready to go.

Top view before we start. The color is like a light orange honey.

This is about halfway thru with the bottling, but I wanted to show these two up next to each other for effect.

And of course, the bottom of the barrel

The bottom still sorta churns itself as the yeast are still somewhat active.

If you’ve ever had a bottle of Fischer’s Alsatian style beer or a Grolsch, then you know how easy the EZ-Caps are to open. They are just as easy to put on as they are to take off. When we ran out of EZ-caps we went to the old standard beer bottles and our analog bottlecapper.

We had some old unused bottlecaps that came from an old Sunkist bottling plant. We don’t give a shit what the caps say. All we care about is the beer. As long as they work, that’s all we care about. Plus, it will be a good conversation starter.

Another shot at the wort…maybe it is Sunkist afterall.

And when they are all finished, they go back into the hallway closet at 60deg F for another 3-4 weeks for bottle aging. We are a month away. Can’t wait.

Finale coming up shortly…