I’m studying up on roses. Over the Thanksgiving holiday, my Canadian friend gave me a bunch of her books about roses. She instructed me on how to propagate roses from soft wood stems, which I’m attempting to do with the flowers from my grandmother’s funeral.
When I was 16 years old I planted a Peace Rose in my mother’s front flower bed for a project in my home economics class. It was my first attempt at flower gardening. That rose grew for nearly 20 years before a drought and grasshoppers got it. One fall it had such big, beautiful blossoms it could be seen from 100 yards away.
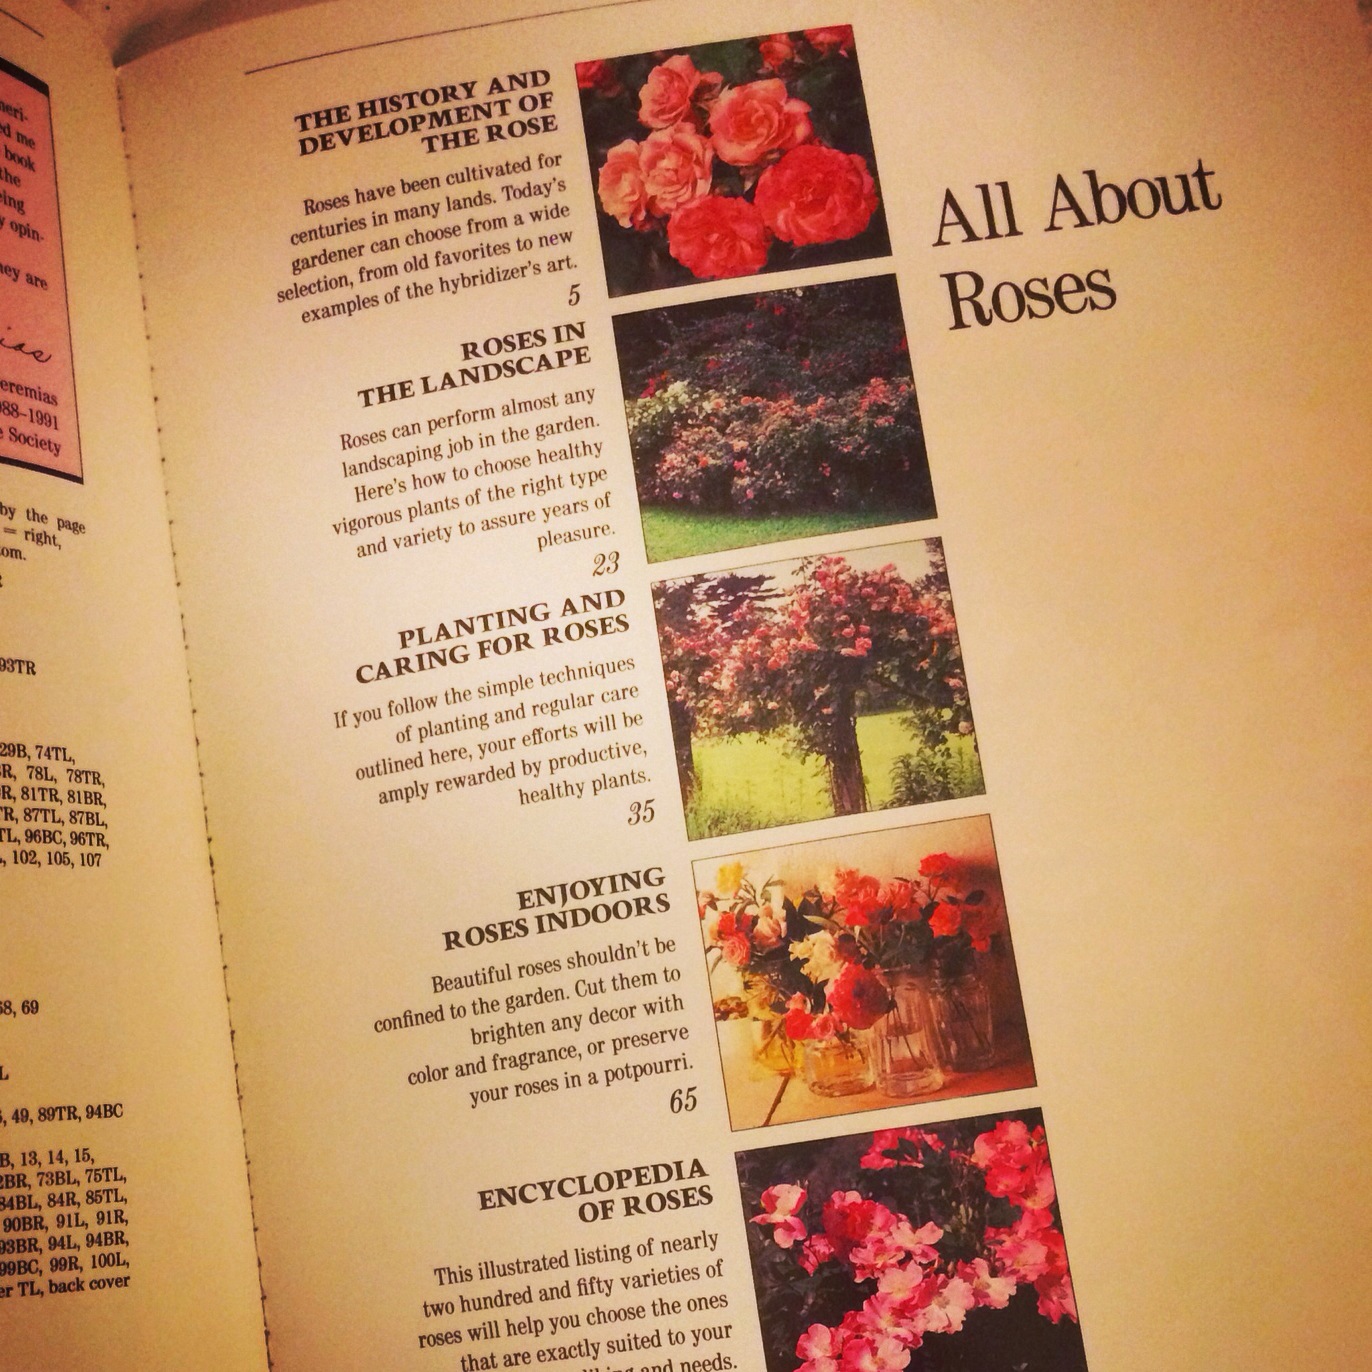
It’s amazing how many varieties, cultivars and classifications of roses there are. I’m just now reacquainting myself with the vast varieties of roses available.
But I’m excited to start learning more about roses and experimenting with them in my garden. More to come…
Twenty-six days in to a blog a day and I almost didn’t get this one in …
In goes the turkey
Yep. Fried trukey, y'all.
Out comes the turkey
An hour later = GBD (code for Golden Brown Delicious)
There’s a bunch left over, still.
it's at least 10 lbs of turkey
There is still about 45 pages left … and this is part of the reason why I almost forgot to post my blog tonight.
Forget Thrilla in Manilla ... this suspense rules in Stockholm.
Lots of food, barking dogs, noisy kids, squawking birds and belly aches… I think I really need a detox and botox for that matter. Let’s just give thanks that Thanksgiving is almost over.
Several people have asked me what we were going to make for Thanksgiving. When I say “nothing” puzzled glances follow with raised eyebrows. When your family is far-flung or out of pocket for whatever reason, it’s hard to justify cooking an 18-pound turkey for four adults and a small child.
My grandmother is recovering from the surgery she had last week. The procedure made her weak and tired. I have a family member going through a divorce and another one with a terrible bacterial infection, etc., etc.
So it was just easier and more convenient (and cheaper) for my immediate family go to Wildcatter for Thanksgiving.
A big pile of food ... Tri tip steak, ham and smoked turkey. Mac n cheese, grits, dressing, green beans, broccoli and sweet potatoes.
It was delicious! And we had a spectacular view of the North Texas Hill Country.
View off the southern bluff at Wildcatter Ranch
We had a stellar French Burgundy and when we were done, we went home. No dishes, no leftovers, no nada.
2003 Santenay was lights-out good!
I don’t think I’ll want to do it every year, but I’m thankful it’s an option. We’ll have traditional Thanksgiving feast with my husband’s family over the weekend – fried turkey, dressing and pumpkin pie.
We had a good day, (well other than that fight we had). And it was a beautiful day to be outside in the garden. I worked on long-overdue cleanup and winter planting.
The Christmas tree went up with relative ease. As I write, the Aggies and Longhorns are still battling it out. It’s been the holiday I really needed.
Today school was out, but I had to work. I had three big deadlines bearing down on me so I worked late even on a holiday eve. Fortunately my mother was off today and took Jdubs for the day. He had a great time, as always.
Today was special because Jdubs really wanted his grandfather to take him for a horse ride.
This is Sugar ...
And that is exactly what they did.
Sugar is a good little starter horse. Very gentle. She's a borrowed horse. It's a common thing to do.
Jdubs decided that he didn’t need any help so he took the reins and took off. It was a great day indeed.
Jdubs is the 4th generation to ride this saddle.
Our legs are finally long enough to reach the stirrups.
That's one happy kid.
And that is a summary on why we live here – because we can go to our grandparents house on a Wednesday before Thanksgiving and ride our horse all by ourselves for the first time.
Today I went to visit my 82 year old grandmother. She had her gallbladder surgically removed on Tuesday. We visited her and took food to her and my 93 year old grandfather. Neither of them can hear well so they don’t have stuff on like the TV or radio. I think it’s kind a cool because it’s so quiet at their house. Noise overwhelms me and I really don’t like loud music, noisy kids, gaggles of teenagers or squawking birds or yappy dogs. The quietness of her house is soothing to me, but then again I took my 4 year old son to visit too. He’s really loud and rambunctious. But he was just what MawMaw needed.
Next week we’ll take her a plate of turkey and dressing and pie, especially since “no one can cook anymore,” she told me of the food that someone had brought her.
I recently discovered an awesome fall squash called sweet dumpling. Like most fall squash, it’s versatile and easy to cook. And it is so sweet. And the name of the squash itself gave me the idea for making a squash filling to go into a dumpling.
Sweet dumpling squash. I was able to take a picture of this before the sun went down. Amazing what natural light will do for a photo.You can use this same basic method to cook all fall squash.Baked sweet dumpling squash.Mashed sweet dumpling squash. These photos are taken inside under harsh, yet inconsistent lighting.
To make dumplings we have to bake the squash first. Pre-heat the oven to 400 degrees. Cut the squash in half and hallow out the seeds with a spoon. Line a rimmed baking sheet with foil, give it a squirt of cooking spray and give the cut side of the squash a squirt too. Then place the squash cut-side down on the pan and put into the oven to bake for 30-40 minutes or until the flesh of the squash is fork tender. Scoop out the cooked squash, leaving the skin behind then mash the squash in a bowl.
Ingredients
3-4 C. cooked sweet dumpling squash (see above)
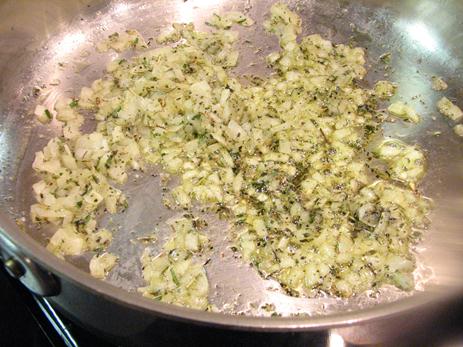
½ of a medium onion, finely diced
2-3 sprigs of rosemary, finely diced and divided. Half for the squash mixture and half for the butter sauce.
¼ to ½ stick of butter
½ C. Parmesan cheese
1/8 tsp ancho chili powder
1-2 tbs herbs de Provence
Wonton Wraps
Salt and pepper (not pictured)
(other equipment needed: bowl of water and a pastry brush)
While the squash is baking, finely dice the onion and sauté with butter and olive oil. Add herbs de Provence and a pinch of the rosemary. Salt and pepper to taste. Let it cook down until very soft. Then add the squash to the onion mixture and give it a good stir. Let it all simmer together, stirring constantly for 2-3 minutes. Remove from the heat, pour into a bowl and let cool for a few minutes, then add the Parmesan and rosemary. Add salt and pepper, if needed. But be careful, Parmesan is very salty on its own.
Add Parmesan and rosemary. Give a good stir.
Give it a good stir then add the chili powder.
A little chili goes a long way.
Put your wonton wrappers on a cutting board. You will need to work quickly because we will seal the wontons up using the water as the “glue.” But wontons are very sticky once they get wet so faster is better.
Put a dollop of squash mixture down on each wonton. It’s about 1 tablespoon of squash per square.
A dollop ...Brush with water to seal the top and bottom of the wonton togethe.
Brush all four sides of the wonton with water, then put a second wrapper on top. Press together with your fingers. Be sure to get all the air out of the stuffed center part as possible. Then crimp the edges with a fork to seal it tightly. Place the dumplings on a flat surface until you can cook it. Get a large pot of water boiling then place the dumpling into the water to cook. You will have to do this in batches. Each batch will take about 3-4 minutes to cook.
Not the greatest photo, but hopefully you get the idea.Out of the boiling water.
After the dumplings have cooked. Place them on a plate or cookie sheet. Don’t bunch them up into a bowl or they will clump together and tear when you try to move them.
Last step, toss the dumplings in brown butter sauce. To make the sauce, put a plug of butter into the pan, get it hot, add a little salt and pepper and a little pinch of the rosemary. When the butter is bubbly and starts to brown, add the dumplings, toss to coat with butter, add a pinch or two of rosemary. Let the dumplings toast and get a little brown.
Put on a plate and sprinkle a little Parmesan cheese on top. Yummy!
I made this last week for the annual Thanksgiving family night dinner at my church. In preparation, I looked through several of my recipe books for a good one.
They all had the basic same ingredients except for one, which actually called for canned candied yams. Yep. Candied yams, which a good Ag woman knows that a yam is really just a sweet potato. Real Yams are imported from the Caribbean or Africa.
I’m a big fan of Cook’s Illustrated. It is by far one of the best producers of recipes in the U.S. They have new recipes but they also reexamine old favorites to get the best version of, say chocolate brownies. They definitely have a flog-it-to-death approach when it comes to research and trials and tasting. These magazines and cookbooks aren’t cheap but they don’t have any paid-for promotions, product endorsements or advertising.
Cook's Illustrated rocks!
I was feeling very sassy and took their recipe and deviated from it. (This is a big-time no-no. Baking is a science but it’s also an art—so until you get a feel for what you are doing, stick with the recipe.)
Pumpkin pie ingredients.
2 C. cream (you can use half n half)
3 Large eggs + 2 egg yolks (you will need a total of 5 eggs)
1 tsp. Vanilla
1 Can or (15 oz pumpkin puree)
1 Can candied yams (15 oz.)
¾ C. sugar
¼ C. Maple syrup
2 tsp. Grated fresh ginger
½ tsp Ground cinnamon
¼ tsp Ground fresh nutmeg
1 tsp Salt (use table salt)
1 Pie crust (see Never Fail Pie Crust or you can use the refrigerated, pre-made dough)
You have to bake your crust a little before you put the filling in. Use pie weights or you can do what I did and line the pie crust with foil and throw a few pennies in as weights. Bake pie crust in 400 degree oven for 15 minutes. After the crust bakes for a 15 min, remove the foil and weights then place pie shell back in the oven to cook for 10 more minutes. Remove crust from oven when it just starts to brown.
No pie weights, no problem. Lots of cookware is made from copper, so why no pie weights?.
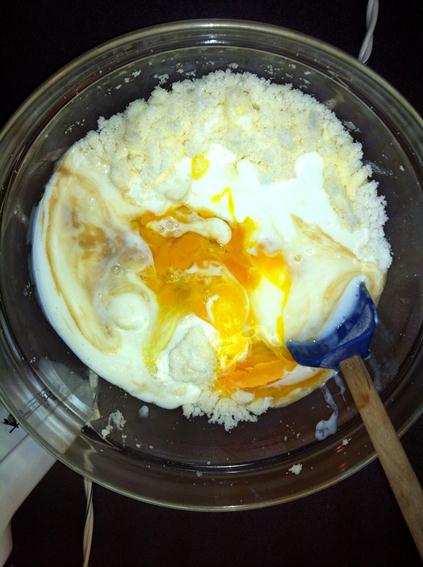
Whisk cream, vanilla, eggs and yolks and set aside. While your crust is baking, make the filling. Combine the pumpkin, yams, sugar, maple syrup, ginger, nutmeg, cinnamon and salt in a pot. Heat it until it gets to a sputtering simmer. Continue to let it simmer for 5 to 10 minutes. Mash it with a potato masher (or a fork). Stir constantly for another 5-10 minutes.
Pumpkin, yams (aka sweet potatoes), sugar, syrup, spices.Keep stirring until it's done. It will get all creamy, sticky and thick.
Remove from heat and let mixture cool for 5 minutes. Then add the cream mixture and whisk together.
Let it cool before you add the cream and egg mixture. You don't want eggs to scramble.Whisk together cream mixture and pumpkin mixture.
Strain mixture thru a fine mesh strainer. Use a rubber spatula to push solids through to make a smooth, creaming liquid. When all the solids thru you can, give it one more stir then pour into the pie shell.
Mr. Potato head helped me strain the solids thru a sieve.
Pour into the warm pie crust. Place in the hot oven (400 degrees) and bake for 10 minutes. Turn the oven down to 300 degrees and finish baking for 25 to 30 more minutes. When the center is set (or the instant thermometer reads 175 degrees), remove from oven and let cool at room temperature for 2-3 hours until custard set.
Nearly perfect pumpkin pie -- just put a dollop of whipped cream on that little hickey.
Tah-dah … And there you have a pumpkin pie that tastes good even though it’s not perfect.
Buttermilk pie is a real winner at any function. It’s old-fashioned goodness. And it’s so easy and non-fussy, I’m almost ashamed to share the recipe, (almost, but not quite). This is easy to double too, then you can take two yummy pies to grandma’s for Thanksgiving. This is another recipe that is hard to mess up and very novice-baker friendly.
A buttermilk pie in all its glory!
Ingredients:
2 C. Sugar
½ C. Butter (one stick)
2 tbs Flour
1 C. Buttermilk
3 Eggs, beaten
1 tsp Vanilla
(One pie crust in a 9 inch pie pan/plate.)
Mix sugar and flour then beat in the butter.
Add the buttermilk …
then the eggs and vanilla and stir it all together.
Get out your wonderfully prepared pie crust (see Never Fail Pie Crust). If you’re in a bind, the refrigerated pie dough will work fine. Pillsbury is my favorite brand. Pour the sugary goodness in.
Bake at 350 degrees for about 1 hour or until your pie is GBD (Golden Brown Delicious).
This is actually a pumpkin pie, but the image makes me laugh with Elvis Parsley and Days of our Chives standing guard over the baking pie.
In 1975 my grandmother published a cookbook titled Food for Body and Soul. In it are some wonderful recipes that are passed down for generations. (more about my grandmother’s cookbook in another post).
The Never Fail Pie Crust is one of those great recipes. This crust is easy to handle and doesn’t require a lot of precision, like most baking does. It’s always soft, yet flaky. Because this recipe uses shortening instead of butter, it comes together very easily. It’s Never Fail, because anyone can pull this off, regardless if you’ve developed a “feel” for the dough.
Pretty standard pantry ingredients for a pie crust.
Ingredients:
3 C. All-purpose flour
1 tsp salt (use table salt)
1 ¼ C. shortening
1 egg, well beaten
1 tbs vinegar
5 tbs water
All in.
Put them all into the food processor, and let it rip.
[If you don’t have a food processor, cut in the flour and shortening. Then add the wet ingredients.]
When it comes together in clumps, it’s ready.
Pretty much flour and lard.
Pull the dough out and shape into a ball. Cover with plastic wrap and refrigerate while you make your pie filling. This dough doesn’t need to be chilled necessarily, but it is easier to work with when it’s cold/cool.
Hanging out in the fridge, waiting its turn.
When you are ready for it, roll out dough on a lightly floured surface. This recipe makes enough for a double-crust, deep-dish pie or two single-crust pies. This can be rerolled without toughing and it keeps in the refrigerator for up to two weeks.