I am a serial hobbyist. Admittedly. One of the things I love to do is learn how something works and/or take an interest in something that most people talk about but never do. In my lifetime, I’ve:
-had saltwater aquariums
-owned beehives for extracting honey
-collected sports cards, mainly hockey
-had a substantial MAD Magazine collection
-played in an acoustic guitar duo in bars
-own a full set of Callaway golf clubs in a leather tour bag
-have the best damn greenhouse in town
Those are just a few off the top of my head. At one point, I owned my own bowling ball and even have a Lionel trainset in my garage. They are all fun hobbies that there are tons of individuals out there in the world who devote their entire lives to. Now, I’ve never gone that far…most of my hobbies will either go on the back burner after a couple years or I’ll just lose interest. HOWEVER…the one thing that I love to do and have done for the better part of 20 years is:
Drink beer.
Oh, man. I’m the best beer drinker I know. I love different types of beers, from the heavy stuff that tastes like thick soy sauce to cheap Texas O.P. beer. The one hobby that I’ve often thought about but never got into was homebrewing. I have friends who have done it and have even tried homebrews. One or two were passable but the rest were downright awful. Terrible.
One night recently, I was watching Alton Brown’s Good Eats on tv, and his homebrew episode came on. Ever fascinated, I watched the whole thing and then turned to my wife and said, “I could totally do that.”
Now, normally when I come up with a new hobby, she just rolls her eyes because she knows it will either be something I forget about or it’s going to end up being something I spent time/money on. This was different. When I said it, she lit up and said, “We can totally do that.”
Bingo.
My next call was to Runnin’ Buddy. I told him my wacky idea, and he told me that he grew up with his dad homebrewing, and it just so happened that his father- in-law was a homebrewer years ago and gave him an entire set of gear to homebrew including carboy, cooker, bottles…everything. All we needed to do was clean it up, buy the ingredients, and get going.
My newest hobby was born:

Off to the big city to a local homebrew store, and we got not only the ingredients, but also some expert advice and recipes to make beer. We chose two different brews…one that should take about a month and another that will take nearly 7 months to completely age. The ingredient list:

-2lbs of milled grains
-a bucket of malt syrup
-0.5oz of Fuggles hops
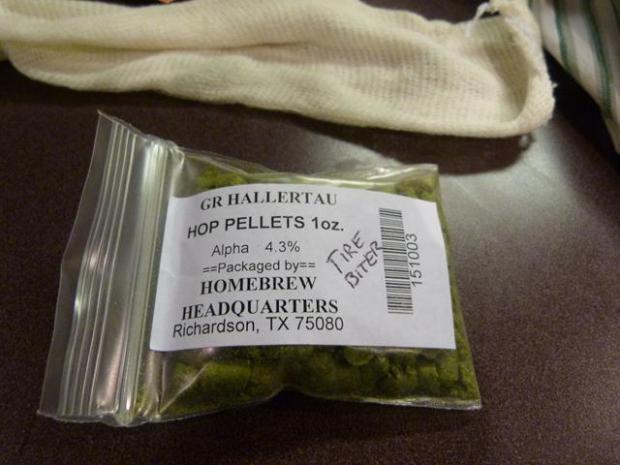
-0.5oz of Hallterau hops (that’s one of the noble hops…more on that later)
-a packet of dry ale yeast (ale yeast ferments from the top down vs. lager yeast that ferments from the bottom up, so we don’t have to stir it in)
-corn sugar…looks like powdered sugar but tastes different. It’s a disaccharide, which means that we can add it directly to the wort after the primary fermentation)
-bottled drinking water (cheap stuff..not distilled)
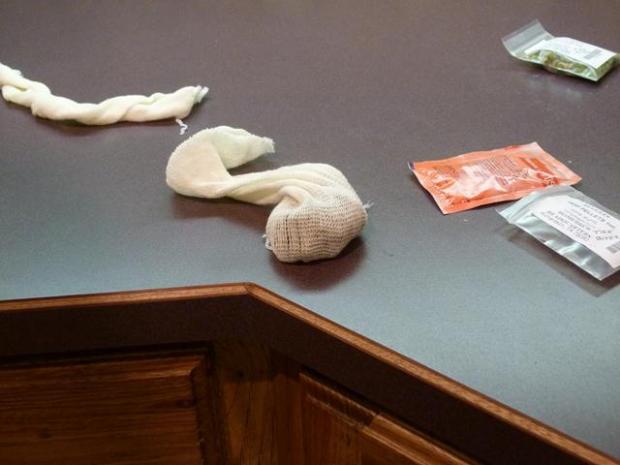
-cheesecloth socks for the hops
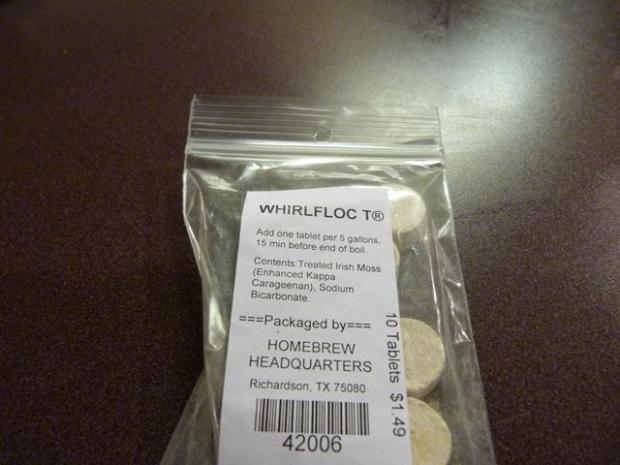
-whirlflac tablets
Immediately, you are going to be overwhelmed because we are talking about ingredients and stuff that you’ve never heard of (probably). I know I was. Stick with it, though…it’s not as bad as you think. Your homebrew store will be able to provide all of this for you and explain what it all is. If not, then go find another homebrew store.
The gear:
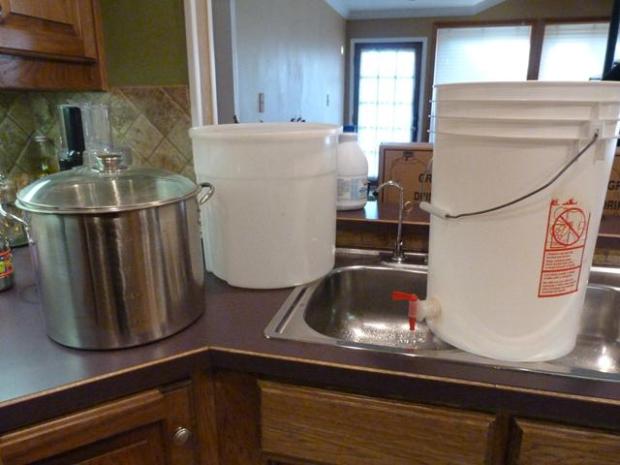
-4-gallon, stainless steel stock pot with a glass lid
-7-gallon plastic bucket with a spigot and a sealable lid
-digital probe thermometer
-assorted other stuff. What? Yeah, keep trusting me on this and read the whole thing before you start.
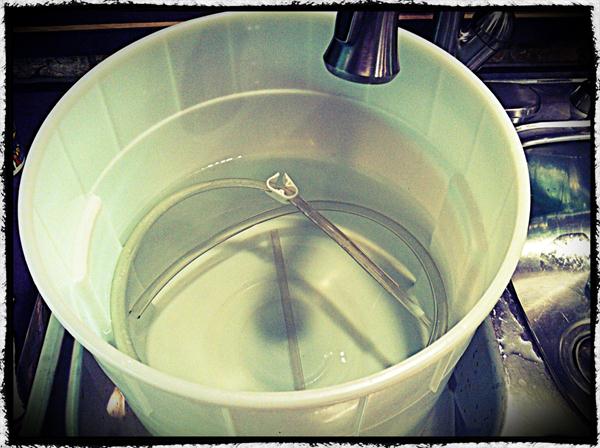
The very first thing you do after inventory assessment is to sterilize everything. Even if you’ve washed and cleaned everything with hot water and soap, there still may be some bacteria floating around, and even the smallest amount of bacteria can turn the beer bad fast. We mixed 2 tablespoons of regular bleach with hot water in the primary fermenting bucket and shoved everything in there that we could…corks, burper, probe thermometer, metal whisk…anything we thought we might use at any point after the boil phase, we sterilized.

From up above:

While all that sat for 30 minutes, we started up our “brew tea”, which is a gallon of water with the milled grains seeping.

That has to simmer at 153 degrees F for 20 minutes. Why so precise? The whole grains have a lot of sugars and resins deep inside their kernels that will be really bitter if they are extracted, so if you keep the heat down they will not seep out. In addition, you CANNOT squeeze the bag they are in AT ALL or you’ll squeeze them out.
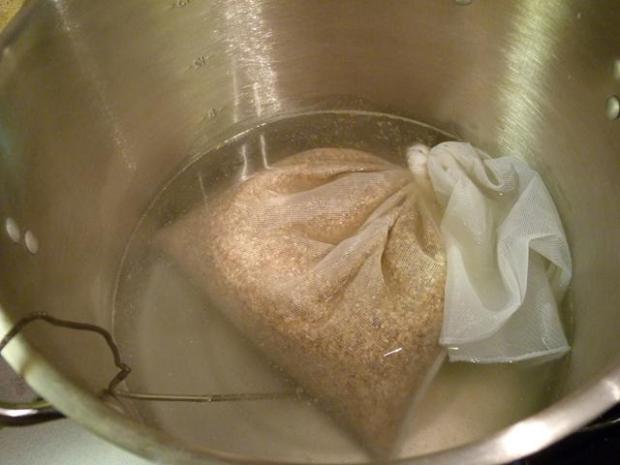
The mesh grain bag with the grains inside:

Do this over the sink our you’ll have this to clean up:
While the brew tea is making, I boiled another pot of water, then put a towel in the bottom so that the malt syrup could get hot and be easier to pour out. I’ll explain more in a bit, but the malt syrup is an extracted blend of grain sugars already pre-made by the brew store. Serious homebrewers will extract their own, but since this is our first time and since it takes about a day to extract them, we are going to just use the premade stuff. I don’t expect that to change.


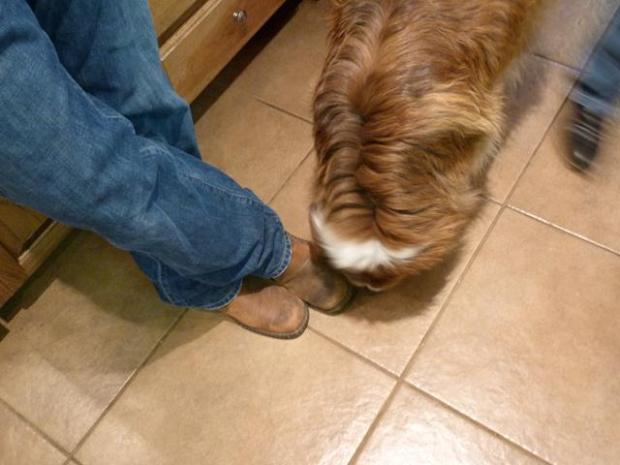
Shangri-La Dog is there to help lick up anything that hits the floor.
After the water boils, turn it off and put the uncovered syrup bucket in, making sure you don’t overflow the water.
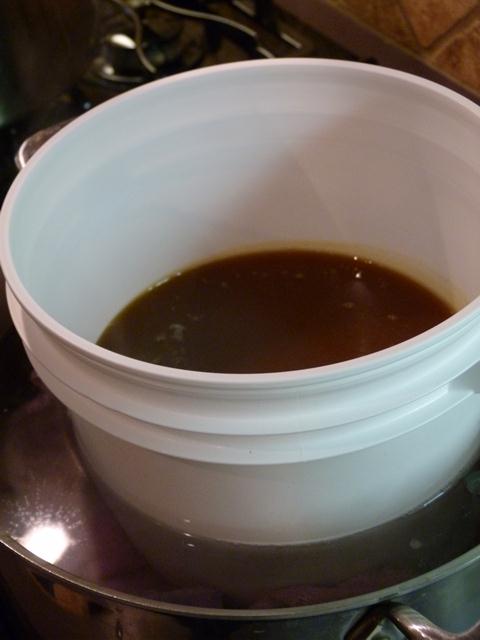
The malt is so sugary sweet, you can barely stand it. It looks like super thick honey and kinda tastes like honey a little bit, but the aftertaste is really potent. Not bad, but definitely a shock to the system when you taste it. It’s beautiful, though.

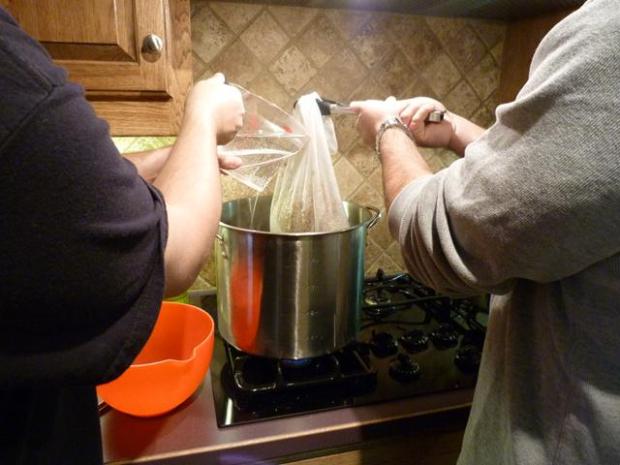
In goes the bag of milled grains.

We kept the water boiling at 153® for five minutes to make sure we could maintain the heat. As well, we gently stirred the tea from time to time to equalize the temp and make sure there wasn’t a build up of heat in one spot under the bag.


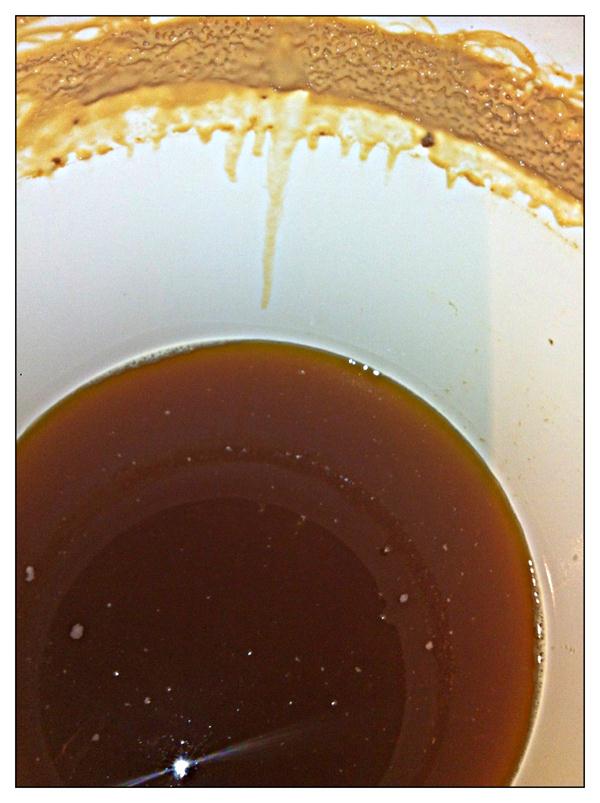
After 5 minutes, you can see the wort begin to take shape as the water turns a pretty blonde color.

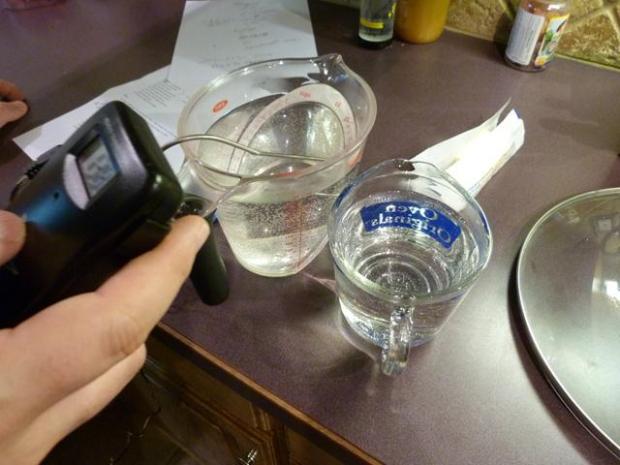
Meanwhile, we took 1.5 quarts of water and heated it up to 170 degrees. We’ll use that to pour thru the tea to make sure we get all the goodies out when we are draining it.
After 20 minutes, we pulled the bag and drained it. Then, we poured the extra hot water thru it.
Top off to 3 gallons of water for the boil. We’ll bring this up to a boil…

The pour in the malt syrup. It’s so thick that you have to immediately start stirring it up or it will stick to the bottom of the pot. Why do I know this? you might inquire? Later.


After we bring that back to a boil we are going to had the hops. Remember up top, I mentioned we are using two different types of hops. “Hops” are the petals of a flower from a plant that is the same family as marijuana (no lie). Brewers have used the petals straight in for years, however they now concentrate them into pellets for homebrewers. I’m sure real beer makers do the same, but we for sure are going to. There are four types of “noble hops”; those are the original hops that were first used:
-Hallertau Hallertauer Mittelfruh
-Tettnanger Tettnang
Spalter Spalt
-Saaz
They are all grown in central Europe and are the standard for Bavarian style beer. Other hops varieties are grown all over, but the noble hops are considered the grandfathers of beer flavoring/finishing. Today, we are using a British hops called “fuggles” (leave it up to the Brits to come up with a goofy name) and the noble hops, Hallertau. We’ll do this in two stages: flavoring & finishing/aroma. The fuggles will boil for 75 minutes and add a big robust flowery flavor. The Halltertau will only be in for two minutes because we just need the aroma and oils to give a bitter punch that this recipe calls for.

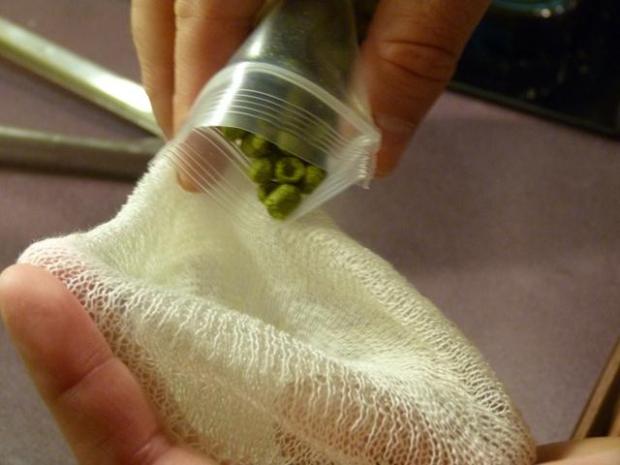
We’ll put those into a cheesecloth sock, darned at one end and tied off at the other end. The pellets will swell up and expand pretty big as they cook, so we need to give them plenty of room to grow.


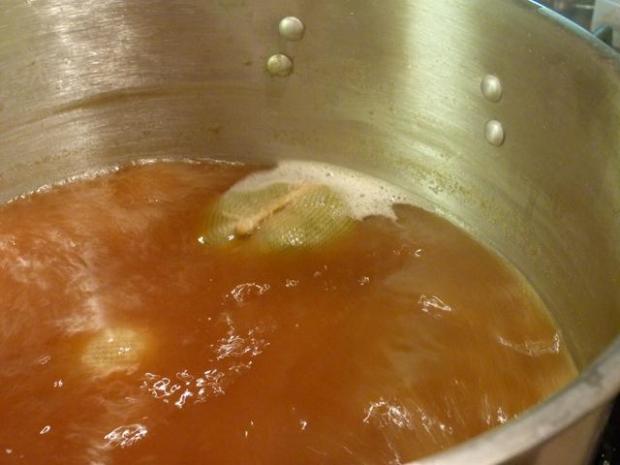
The boiling wort (which is what you call beer before it’s finished):


When the rolling boil begins, we throw in the fuggles and let them cook.

Now, I wish I could explain to you how great this smells. The malted barley and Munich grains that are in the bag smell like Grape Nuts if you’ve ever had them cooked. The hops smell so good…it’s like perfume, but with an anise kick. It’s so strong when you first open the bag that it takes you back, but you immediately get right back in for another whiff.
After 60 minutes of boiling on the flavoring fuggles hops, we need to add whirlfloc. Whirlfloc is a synthetic additive that doesn’t affect the smell, taste, or flavor of the beer at all. What it does is grab on to all the suspended particles in the beer and make them heavy enough to sink to the bottom of the primary fermenting bucket. If we were making a dark beer, then this isn’t an issue. However, with a lighter golden beer then we are probably going to see particles in the beer if we don’t filter it. Since we don’t want to filter, we use whirlfloc. Purists will use Irish Moss, but we’ll just use whirlfloc for ease of use.

After 13 more minutes, it’s time for our finishing or “aroma” hops. The first hopping gives flavor. We go with a more potent hops to add the smells of the hops only. For this, we are using the Hallertau:

Two bags of hops.

Notice the line on the inside of the pot where the original level of the wort started. We’ve reduced down considerably, concentrating the smells, sugars, and flavors of the wort.
The finishing hops stay in for two minutes, then we turn off the heat and pull the bags.

The wort will continue to churn for a bit with the carry-over heat. If you taste this now, it tastes like sweet bread that you’ve liquefied. Big flowery taste with a bit of bitterness on the back of your tongue from the hops.
We let this cool down for 15 minutes in the pot. Then, we took 8lbs of ice and put it into the sterilized primary fermenting bucket with the spigot turned off so it doesn’t run all over the floor.

For reference, by the way, we cut the hops socks open to take a look at the hops after the cook. The flavoring fuggles hops are on the bottom and are a noticeable browner color, as we’ve cooked a lot of the chlorophyll out of the flower. The aroma hops are on top and are still bright green.

The grains that we seeped for the brew tea look like cattle feed, and frankly kinda smell like cattle feed, too. We’ll set those out in the fancy greenhouse to dry and will put in the birdfeeder.

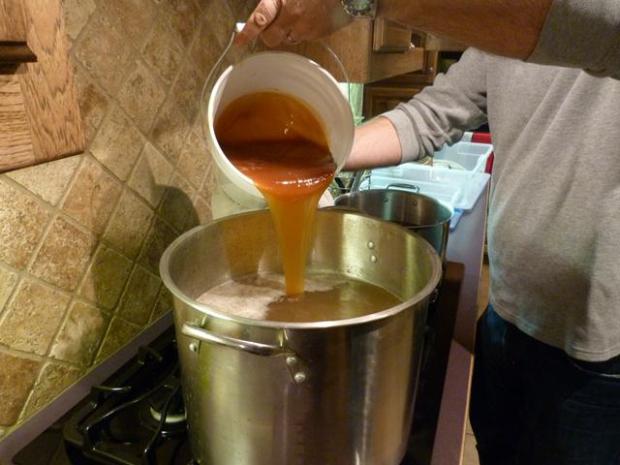
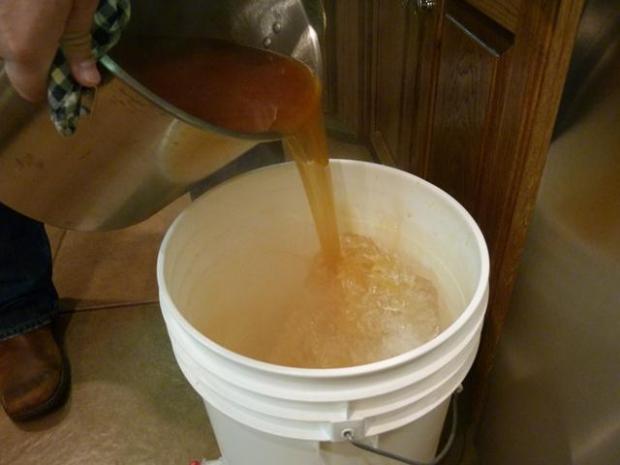
Pouring the wort into the fermenter…look how beautiful that is.

Pouring it over the ice will help melt it.

Remember what I said about having to stir the syrup well or it would stick to the bottom and burn?

Damn, I hope that doesn’t come back to bite us down the road.
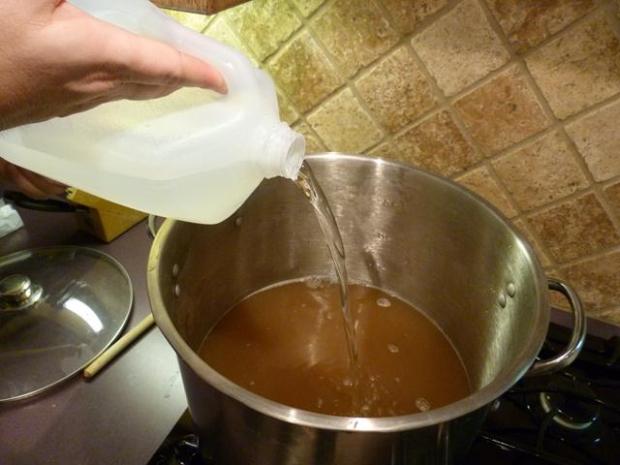
Topping off with another gallon of water to make five gallons total in the fermenter (

The wort in the bucket:
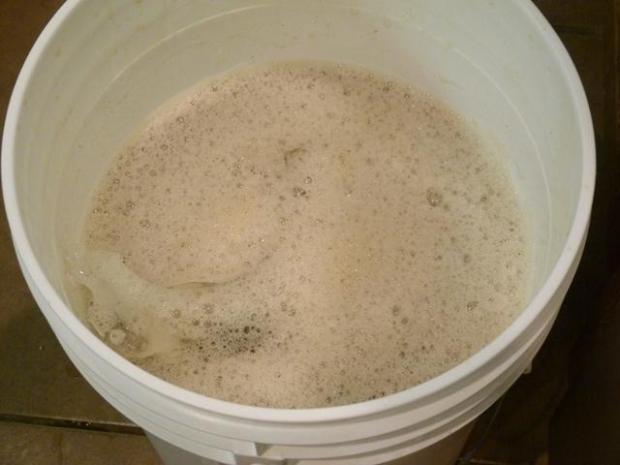
We have to let this cool off to somewhere between 65-75 degrees before we “pitch” the packet of dry yeast. If it’s too hot, then the yeast will immediately die. If it’s too cold, the yeast could die or just be arrested and not bloom.

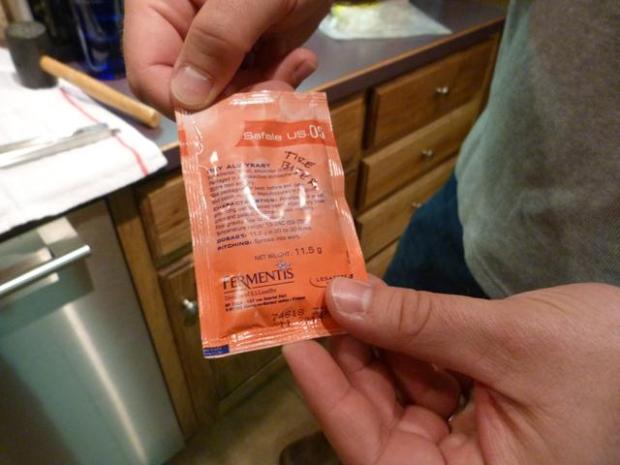
The packet of yeast
“Pitching” the yeast into the top of the bucket:
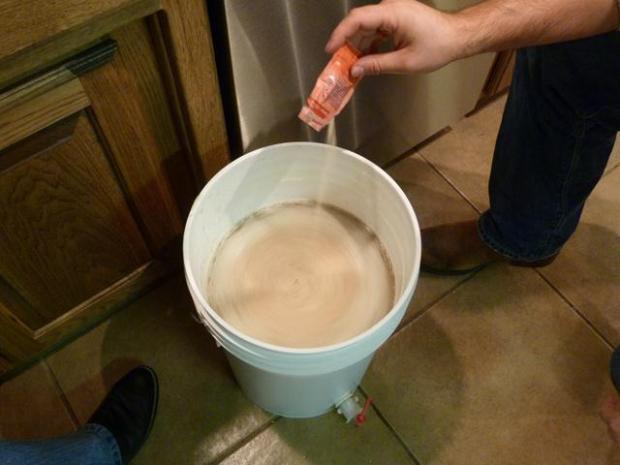
Now, we do NOT stir this up. Because we are using ale yeast, it needs to sit right on top to work. The yeast feeds on the sugars in the wort and craps out air and alcohol as a natural process. We need the air to escape in this portion of the process, but want to keep all the alcohol. We do this by sealing the top of the bucket except for a small hole with a “burper” or an “airlock”. This will slowly let air out while not letting any back in. Air has bacteria, and we don’t want that.

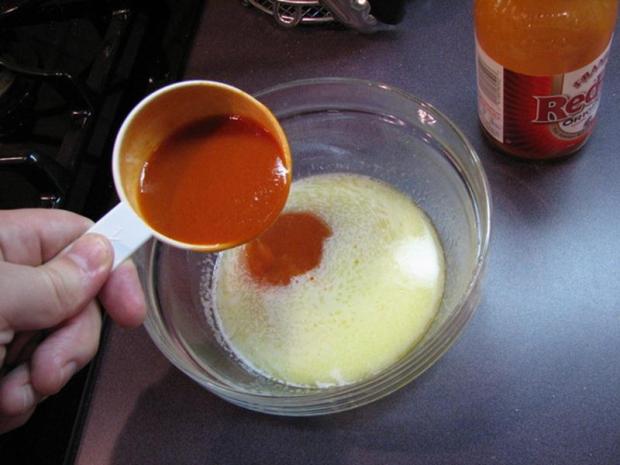
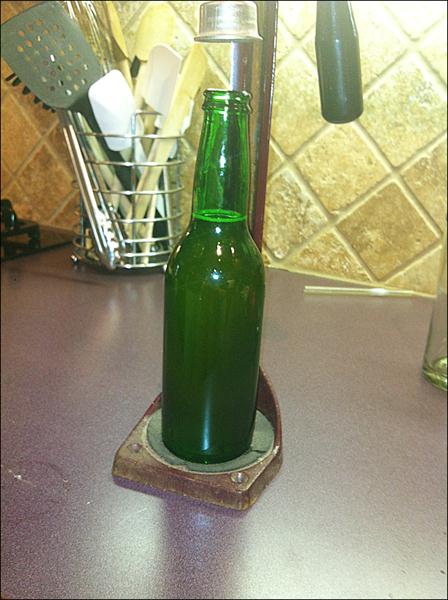
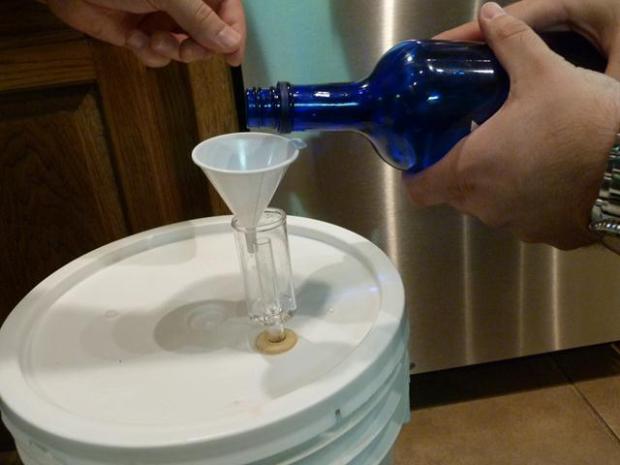
Alton Brown tells us to add water into the airlock to make bubbles, but the gearheads go one step further. If you use vodka in the airlock instead of water, then it keeps it extra disinfected. It just so happens that I keep vodka laying around for just such an occasion.

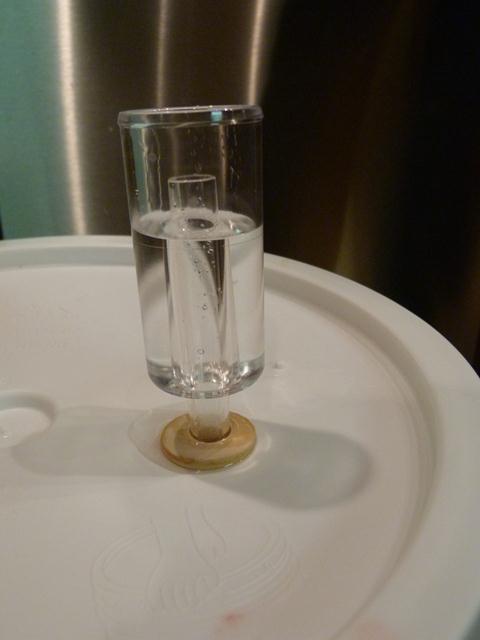
Carefully pouring it into the airlock chamber.
Upright.
Knucks for a finished wort

Here comes the tricky part. We’ve got to let this ferment for 10-20 days in a dark cool place, no hotter than 70 degrees and preferably around 60 degrees. It just so happens that we have a coat closet that stays at 62-65 degrees at all times

That’s our first part. There are two more parts on the way, but you’ll have to wait for a couple of weeks for the wort to ferment.
To be continued…